
If you’re looking for a cheap and eco-friendly way to protect your books, a paper bag book cover is the perfect solution. Not only is it cheaper to produce than plastic, but it also adds a rustic, homemade look to your books. Even better, this project can be completed quickly and easily. A paper grocery sack, lunch bag, or large brown paper envelope will all work well for the project.
Brown paper grocery sack
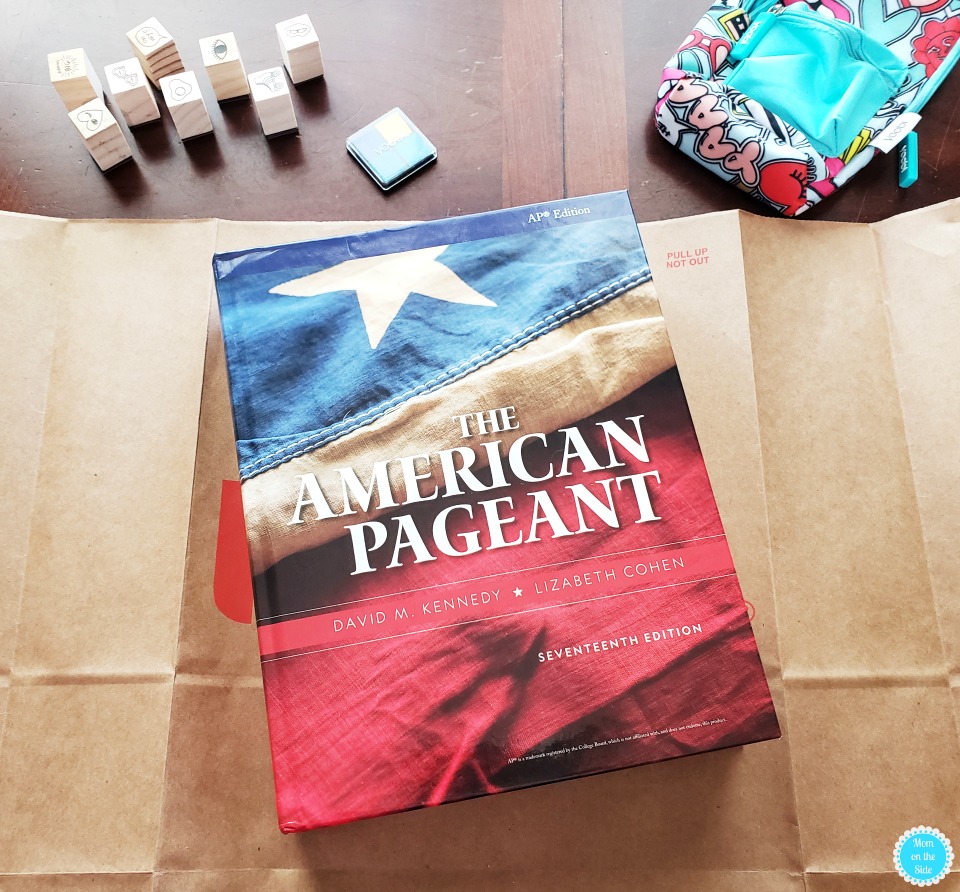
A brown paper grocery sack makes a great book cover. Just cut it down one side, along the top and bottom edges, and fold it over the book. Once you’ve finished folding the bag, you’ll have a book cover that will look great on any shelf! Make sure the edges of the bag aren’t too tight, though, so that the book’s spine is visible. Fold it again along the bottom edge.
Another great way to protect textbooks is to cut the bottom off a brown paper grocery sack. It should measure approximately one sixth of a barrel. Then, cut around the bottom, leaving a large rectangle. Use the smaller rectangle for a book mark. You’ll have a custom-made book cover that is both durable and affordable. You can find similar items on etsy for a fraction of the price!
To create your own book cover, all you need are some paper grocery bags and scissors. You can cut the bottom of a bag, along the length. Then fold it along the middle, and voila! You’ll have a beautiful book cover! You can even display it on a sideboard or living room table! The bag will look great displayed on a shelf and will complement any home decor! It’s a cheap, easy, and environmentally-friendly book cover that can be displayed anywhere!
Washi tape
If you are looking for a creative way to add your book to your collection, washi tape is a wonderful material to work with. Its low-tack adhesive makes it a great choice for paper crafting projects. You can use it to create anything from book covers to stencils. This inexpensive craft tape is easy to use, reusable, and versatile, so you can experiment with various designs and styles.
First, cut the pieces of washi tape in half and place them along the bottom and side edges of the book. Fold them into the shape of the book cover, covering both sides. Next, tape the two halves together to secure them. Make sure to place the tape at the corners so that they are symmetrical and the flaps can overlap. You can also fold the flaps again to get more space.
If you want to use washi tape, make sure to use the same color as the book. Washi tape is particularly popular because it is waterproof. You can even use it to seal the book. You can even use it to identify the contents of your book by the pattern. Washi tape is also great for keeping things in place while making a book cover. There are lots of ways to use washi tape to create a unique book cover, and the possibilities are endless.
Duct tape
If you’ve ever owned a paper bag, you know how easy it is to make a book cover from it. All you need is some duct tape, a book cover, and a book. If you’re a little unsure, keep reading to learn how to make a book cover from a paper bag. There are many ways to make a book cover from a paper bag, but there are a few things you should know before you begin.
First, you need to cut the bag. You’ll need the back and front parts of the book so that the flaps will fit snugly. Cut them carefully with scissors. Make sure not to cut the book itself, but instead cut four pieces of tape. Use the tape to affix the fabric to the back cover of your paper bag book. Once it’s done, you can remove the book from its paper bag cover.
Once you have the paper bag cut to size, the next step is to place the book inside. To do this, lay the bag flat on the table. The long edge should be facing you. Fold the bag to the same height as the book. Use duct tape to secure the flap, and you’ve got a book cover that can be reused. If you’re worried about the book falling out, you can always trim it later.