
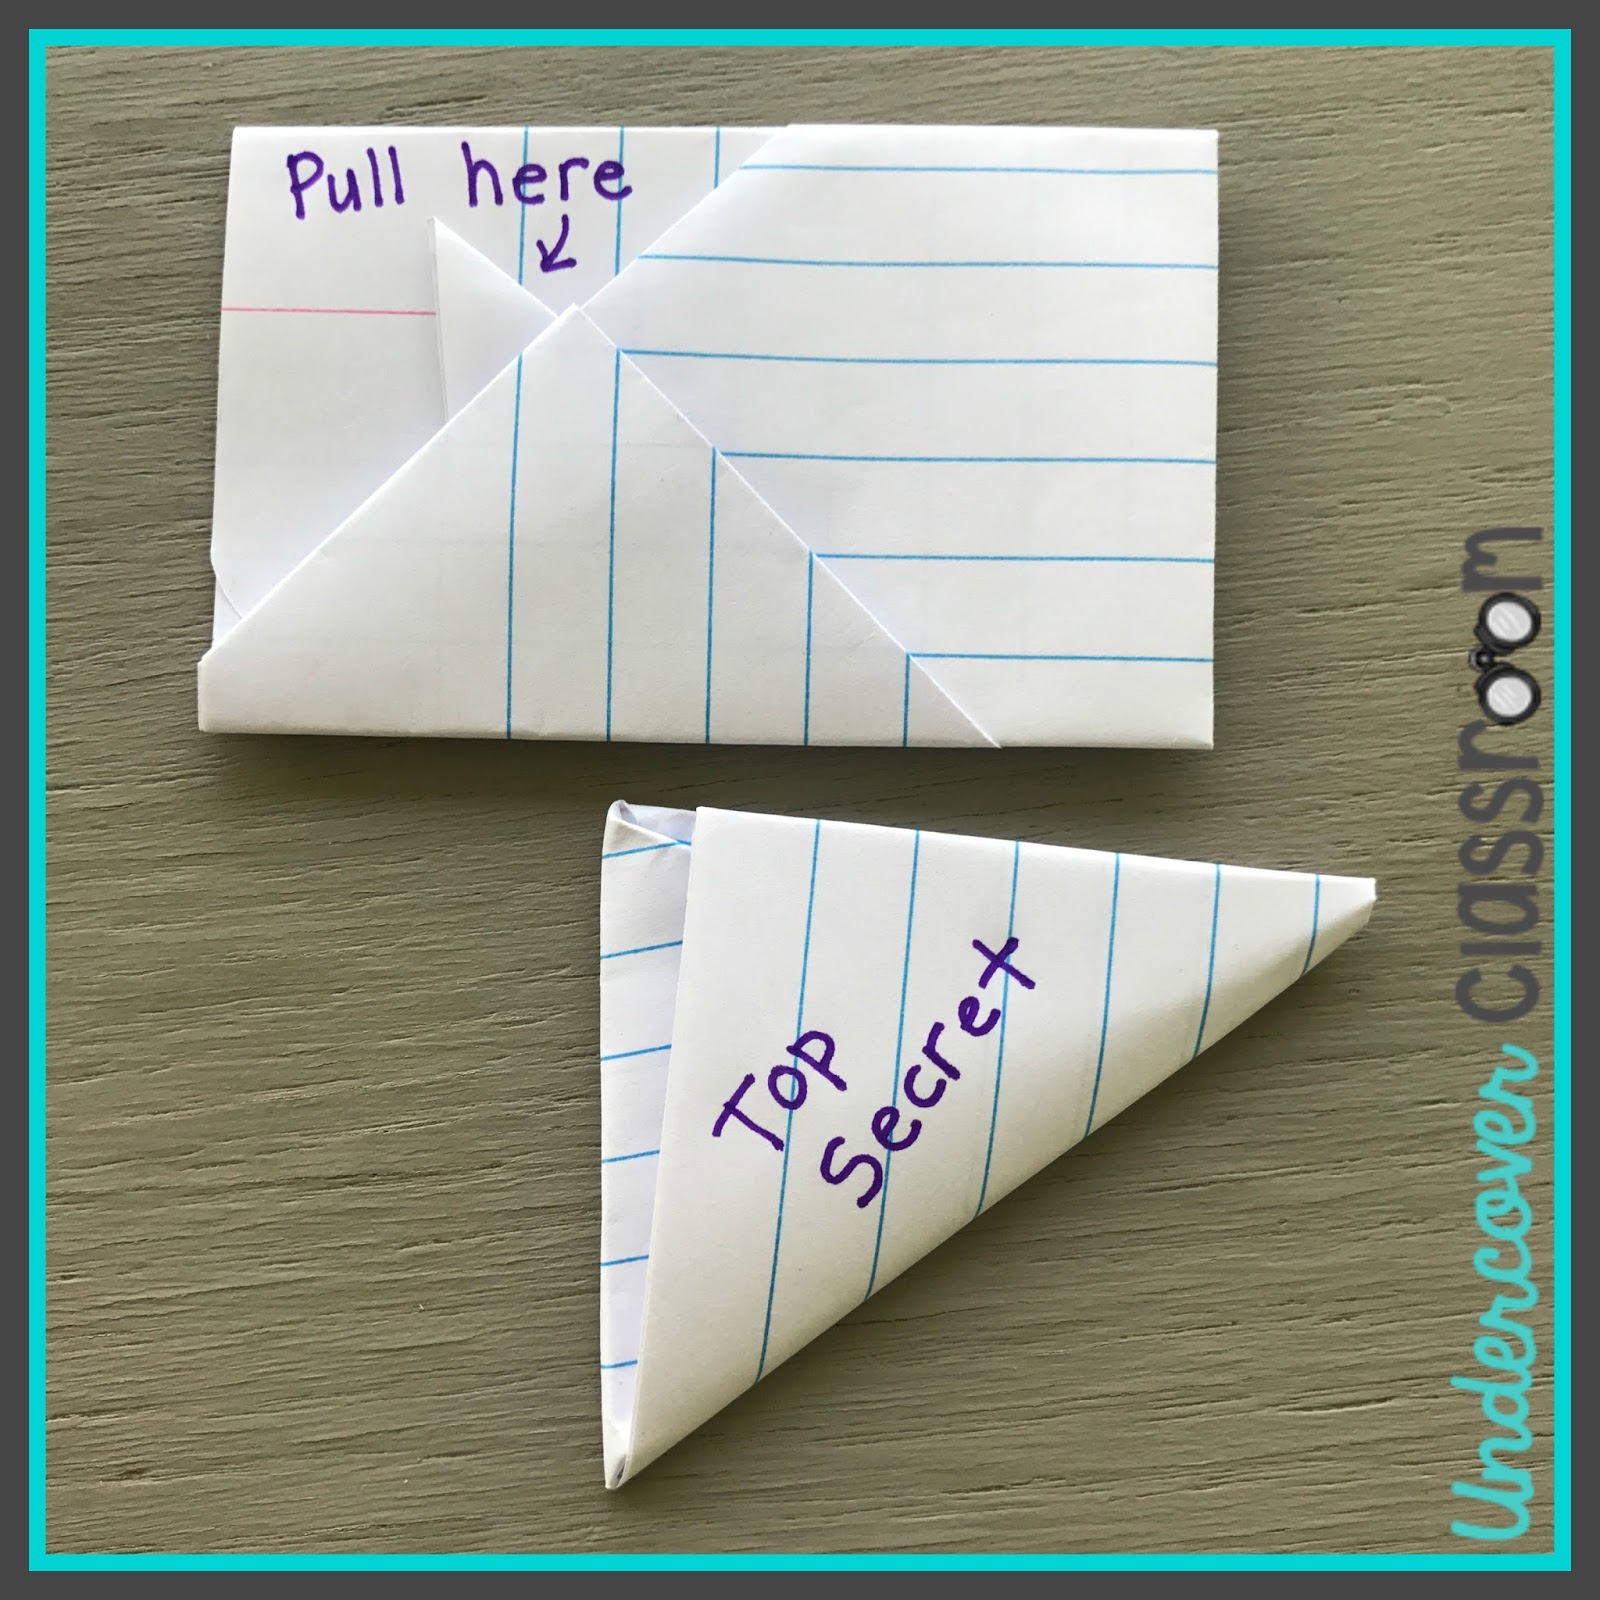
Learning how to fold paper into a book is a great origami project that promotes reading and writing. In this article, you’ll learn how to fold a paper book in three easy steps. You’ll need to choose the right paper for your project, as well as staple the sections of the book together. Then, follow these tips to create your own book. Now, you can enjoy creating a beautiful and practical book!
Making a paper book is a practical origami project
A book made of folded paper can be used in a variety of ways. It can be a gift or a special memory. If you want to add a personal touch to your book, use scrapbook paper instead of the original book cover. If you don’t have scrapbook paper, you can always make a unique cover for your book by using different designs and patterns. Making a book with origami is an easy, inexpensive project, and even the finished product can be useful and beautiful.
Paper crafts, such as origami, can enhance students’ spatial perception and foster problem-solving skills. Origami has many educational benefits, including the opportunity to teach geometry. By teaching kids to fold geometric shapes, they can improve their understanding of formulas, labels, and other concepts. Origami also helps students learn key terms and concepts, such as the area of a real structure.
Creating a paper book promotes a love of reading and writing
Children model behavior, so it’s important to read and write to them as often as possible. Read the newspaper together on a weekend morning, write a note while you work on a project, and even take a book with you to a picnic. Talk about what you’re reading, and share stories of the books you loved as a child. Invite local authors to come to your classroom to share their favorite books and inspire a love of reading and writing.
Choosing the right paper for a book
Choosing the right paper for a book is a crucial aspect of the quality of the finished product. While the composition of your book, the amount of pages, and the binding all play a role, some factors are more important than others. Regardless of your chosen medium, there are three common types of paper for books: gloss art paper, matte art paper, and board book paper. Here’s how to make the right choice for your project.
Classic paper is the most versatile and suitable for most book projects. It works well for both paperback and hardcover books. Its satin finish is more subtle than that of glossy papers. The resulting surface texture will improve the readability of your text. Satin paper is also ideal for book projects that feature text next to images, like portfolios and brochures. If you’re planning to print your book on both sides, choose one that’s compatible with both.
Staple your book sections
You can staple your book sections for a thicker final project. When stapling book sections, be sure to place two staples close to each other. When stapling each section, make sure that the folded edges of each piece are facing the same way. Fold the edges together and line them up before binding. Once the sections are all bound, you’re ready to add the book cover. Follow the steps above to finish binding your book.
To start stapling your book, start by folding each page evenly and neatly. If one or two pages are sticking out, it may be time to replace them or fold them more carefully. Then, staple each section together with a staple. This step will make the book appear firmly bound. If you’re unsure of how to staple your book, don’t hesitate to contact customer support! They can help you make it easy on you and your wallet!
Attaching a book cover
When folding paper into a book, the front and back covers should line up with the spine of the book. Use a small amount of flexible glue on the spine and fold the mounting pages over the board. This should leave about a half-inch to an inch space on either side for the flaps of the book cover. Now, you’re ready to attach the cover to the book.
A hardcover book has a spine and a cover made of cloth or leather. Both are attached to the spine with a hinge. The front and back covers are usually the same material as the spine. They form a protective “case” for the book. In the past, book covers were carved from wood and attached to the spine using cloth or metal hinges. Today, book covers are made of many different materials, but are usually a plastic or cardboard core.